
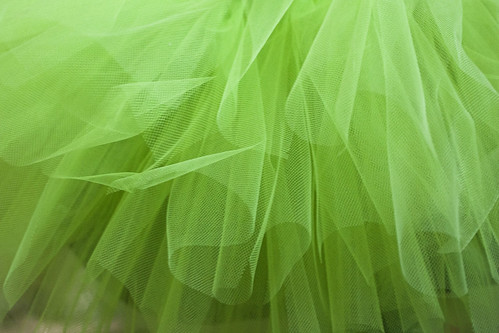
This weekend was dedicated to tutus! We are giving our niece some dress-up clothes for her 2nd birthday and she's really into fairies, especially Tinkerbell. I had some pink chiffon and satin already, so I thought I'd whip up (yeah, right!) another pettiskirt and then I grabbed 4 rolls of green tulle at Joann's the other day to make a Tinkerbell-esque no-sew tutu (many, many tutorials out on the interwebs, just do The Google).
I had intended for the pettiskirt to take a long afternoon, but you know what they say about the best laid plans (and frankly, I wouldn't say they were "the best" to begin with!). I started early afternoon on Saturday, but by 8pm, I was pretty frustrated. Sooooo, I took a break and decided to work on the no sew variety. And here it is! Very simple, very fast, very fun. (Practically) Instant gratification!
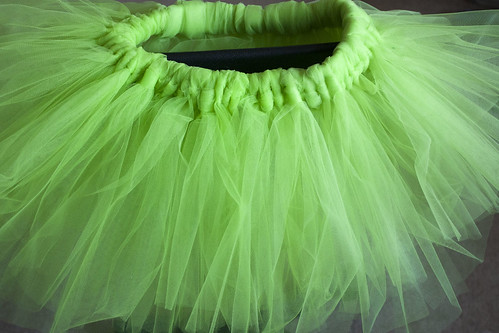
The precut rolls (6" width) made it even easier than cutting from yardage. I wrapped the tulle around a legal pad the long way and then cut across the bottom and attached those strips to 1" elastic (I've seen ones made with an elastic headband as well). I bought some green ribbon, as well, to wrap around the waistband, but I decided to leave it off since I made the skirt pretty full and the waist was already pretty thick. I'll report back on whether it meets the high Tinkerbell standard :)
On Sunday afternoon, I dove back in with the pettiskirt. And here is the ruffle monster:

Yea! (I think it was 10pm when I finished!) So ruffley and fluffly. I hope she likes it! I used pink and white chiffon for the ruffle around the bottom. This time around I did a buttonhole and made the waistband adjustable, since I didn't get my niece's measurements beforehand. It seems a bit fuller than the previous one I made, but to be honest, I have no recollection of making that one! Looking at the older photo, I think I made the first one a little longer but it's hard to say.
I tried to use the ruffler foot, but I couldn't find the happy medium between the tightest ruffle and the next setting, which was more of a pleat. Theoretically, with the ruffler, you should be able to gather the top layer while affixing it to the bottom, but it just wasn't meant to be for me and I was sick of messing around with it. So I ended up just adjusting the tension on my machine, as Ashley of Make It and Love It suggests and then making the ruffle, then attaching it, and running gathering stitches for the tiers. I would have saved more time if I had just ditched the ruffler.
I think I've mentioned before that you really do need to get the nylon chiffon. Polyester will fray like nobody's business. I've never seen nylon chiffon in a bricks and mortar store and ordered mine from www.fabric.com. One nice thing about ordering from them is that it comes in 108" width, so you're dealing with fewer strips. The downside is that there are only five colors. Hopefully, they'll get more soon but I can see the advantage of paying more and getting the spools of already-cut chiffon at other online shops and they have two dozen or so colors.
Short break
For the past few months I've been having some thumb, wrist, radiating-up-my-arm, discomfort and I can't tell if it's from sewing, rotary cutting, or surfing (the internet, that is). Probably a combo. Anyhoo, I took a sewing hiatus Monday and copied and cut out the templates for the Single Girl quilt instead.
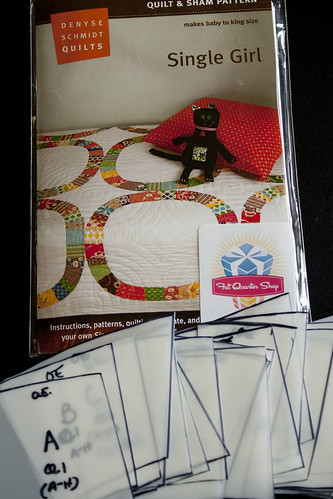
Not sure when I'll get to it. I have fabrics picked out, but they are kind of rainbow-ish and I wonder if that makes it seem a little more juvenile... Not sure. So I'm holding off from actually cutting out fabric for it. I've read a lot from the Single Girl Support Group and though it's probably the most ambitious thing I've done, I'm excited to start.
I will probably do some sewing today because I just can't stay away! I want to get my Block-a-palooza top constructed and my Parisville top done so I can move on to something new! And I just got my April TwitterB fabric in the mail, too!
No comments:
Post a Comment