
It's been a busy couple weeks. I spent five days in Minnesota taking care of my niece (15) and nephew (9) in Minnesota, so not much sewing going on. The week previous, I was in a flurry of present-sewing activity. Thankfully, I was able to finish in time for my visit.
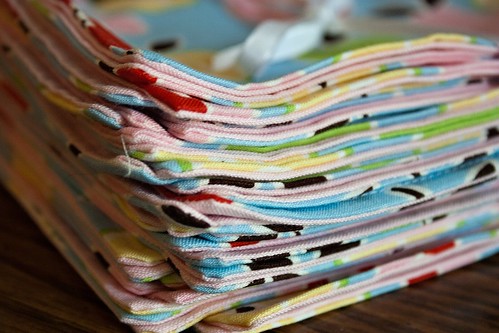
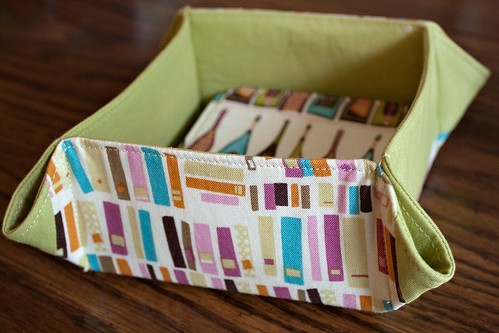
For my brother and sister-in-law, I made two-sided cloth napkins (9 of them because that's what I could get out of a yard). They are rectangular and I think they were 12x14 unfinished. The backing is pink cotton shirting. I just stitched them together, turned them, and topstitched them. Easy peasy.
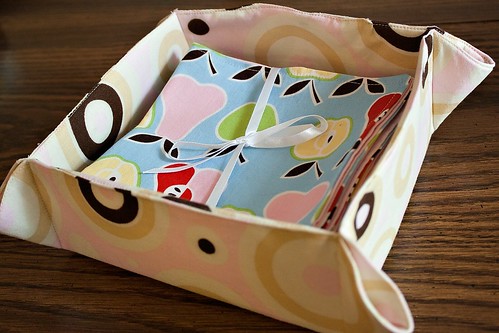
I put them in a hostess box from a SewMamaSew tutorial. I didn't have the stiff fusible, so I took a piece of a stiff nonfusible and then attached it to the lining fabric with some strong no-sew webbing.
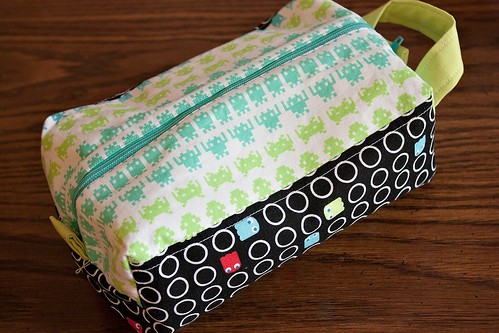
I made this boxy pouch for my brother with the videogame fabric I got from Hawthorne Threads. Some easy-to-follow tutorials here and here.
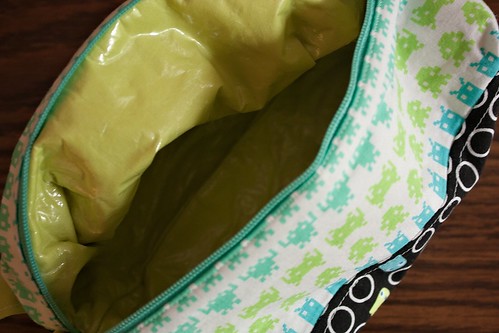
I lined it with iron-on vinyl in Kona Cactus. It was a bit challenging turning the pouch inside out, but it doesn't matter that it is a wrinkly since it's inside. I was a little worried about the stress on the sides where the pulls are, since bending the vinyl back creates stress on the seam. So, I hand stitched a little bit on the horizontal side seam to reinforce it.
These coasters are for a belated Father's Day gift. They were really simple and fast and I think they'll be pretty useful!
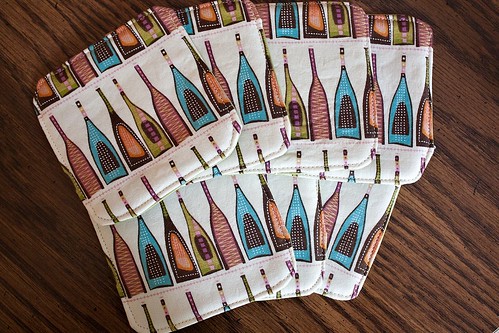
I made 7 because that's how many I could get out of a strip. I can't remember how big they were unfinished. Maybe 4". I put fusible fleece on the upper fabric, sewed right sides together and turned them right side out and topstitched.

I put vinyl Kona Artichoke on the back. Again, working with the iron-on vinyl means the fabric never gets quite ironed out.
I had a little photo snafu and I deleted a couple photos before I uploaded them. So, I don't have a good photo of the Kindle case that I made for my stepmom (actually, I made two because I didn't know which one she would like).
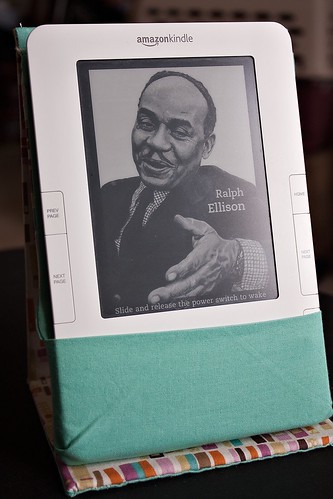
I used this tutorial to make the above Kindle cover. I like how it folds up so you can read it hands-free. My Kindle is a second generation, so it's a little bigger than the newer ones (which is what my stepmom has), but you get the point here. I added a second elastic at the top of the holder (there's one on the outside that holds the cover closed) to make it more secure. I only had a 1/2 yard of this fabric, so there is a seam across the outside. But I still like it.
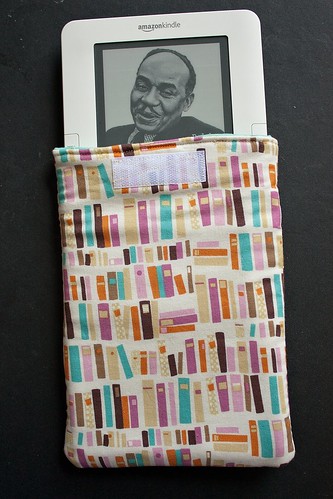
I also made this simple velcro-closure pouch. I just love that book fabric. Then, I made this tote for my stepmom.
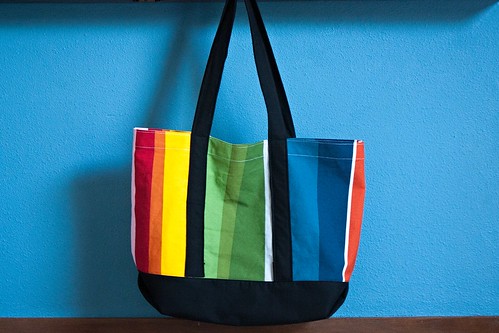
It's based on a tote I already have that I use quite a bit. I made a tiny mistake with the handles; I was just so gung-ho on the project that I forgot to attach them at the seam. But I secured them on top of the fabric and I think they'll work out just fine. It's unlined, but it's perfect for the market or the library. While I was home, I couldn't resist visiting Ikea, but I only bought three 1/2 yard cuts of canvas fabric to make a couple more. It may just need an outside pocket. Then it will be perfect!
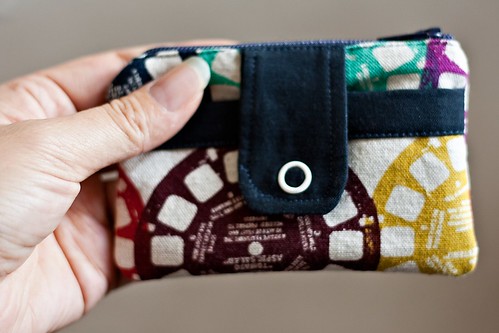
Finally, I made this leeeeetle zippy wallet from the Noodlehead tutorial for my sister-in-law. I have a photo of the first one I made, but the one I gave my sister-in-law has a clip on the side. It's just big enough to hold a card or two, some cash and some change. And for me, my vanilla Lip Smackers!
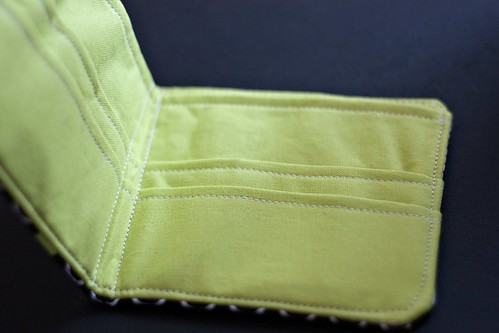
And because I love Noodlehead so much (and it's not like I didn't have enough to do already), I also made a wallet from her tutorial. I topstitched the pocket slots, too. Not sure who it will be for, but I think it might need a closure of some sort. But it was pretty easy and so cute!
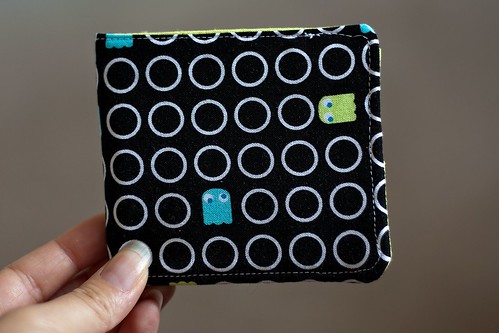
Man, I just love Pac Man!
Now I gotta get to work on my Christmas in July bee blocks and the next month o'birthdays. Phew!
1 comment:
Lucky family - everything you have made is not only useful but look expertly handmade. You inspire me!
Post a Comment