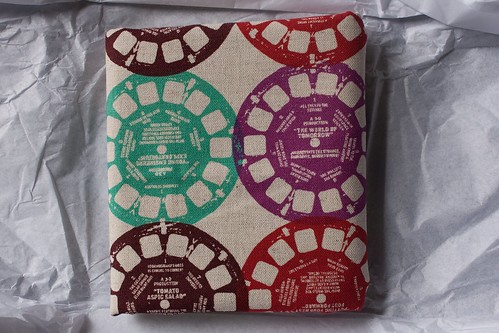
Well, I did it. I cut into my viewfinder material! I did a little deep breathing, gritted my teeth and just did it.
And boy, am I glad I did! I really love this fabric. I had a 15" selvage to selvage chunk of this colorway and a half yard of the pink/grey colorway and I wanted to make sure I could salvage as much as I could from each piece. I often have a little moment right before I cut into a really special piece of fabric (and this is among the more expensive pieces that I have - I'm a bit of a fabric bargain shopper). But once I'm committed, I'm full steam ahead!
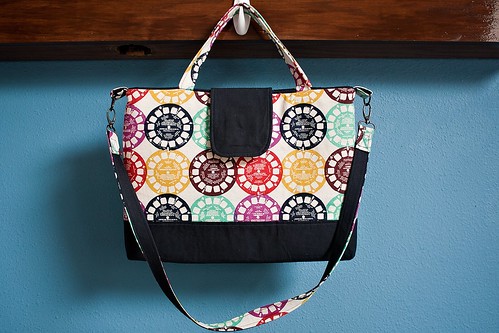
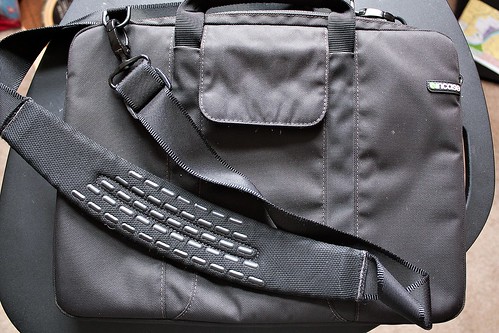
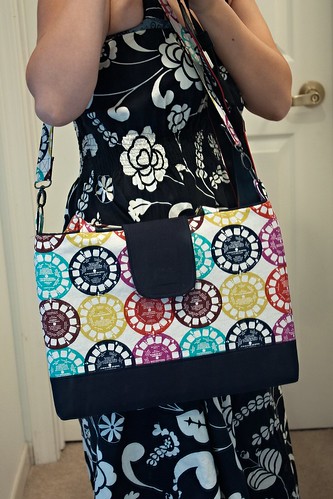
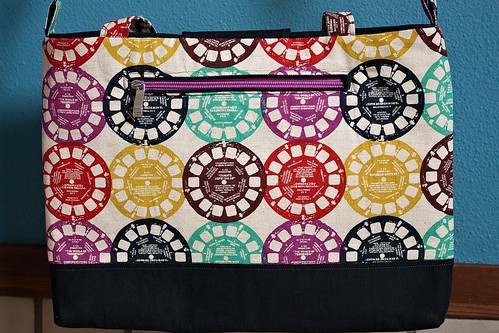
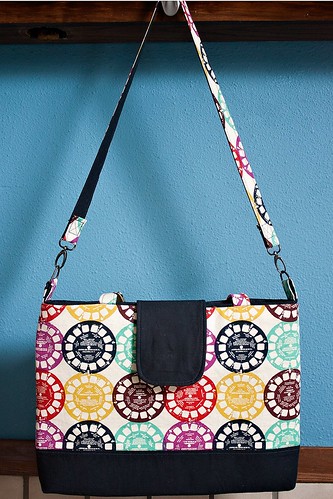
This computer bag is based on a tutorial from The Mother Huddle. But you know I can't leave well enough alone, so I made a several modifications (I added handles, a flap, a zippered pocket and made a few construction changes). I have a 15" MacBook Pro and I have a neoprene sleeve for it, but I didn't have something with handles that I could carry around on its own. So I used my husband's In Case bag for inspiration, as well.
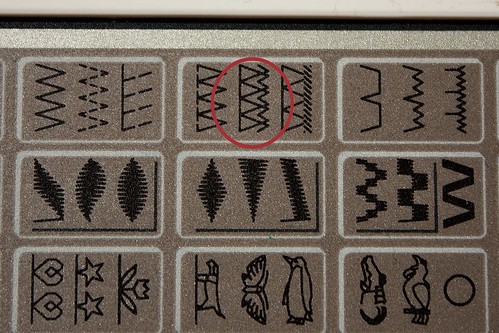
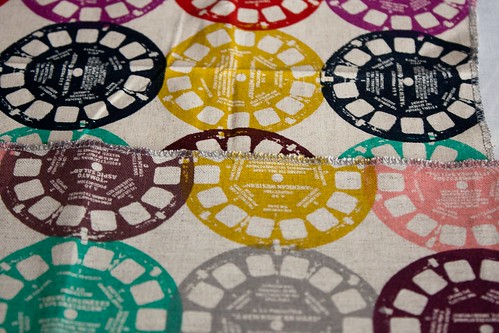
So, let me break down what I did. I generally don't wash fabric for quilts, but I do wash it for bags because I think (perhaps incorrectly) that fusible interfacing adheres better once you get rid of some of the sizing. Because of the linen in the viewfinder fabric I was nervous about losing precious inches to the washing machine, so I overlocked the cut edges before throwing it in. It came out perfect! I don't have a serger but I really love the overlock stitch on my machine and I use it a lot for clothes (I used it again later in the construction process).
While my fabric was washing and drying, I spent an hour (maybe more...) playing with math and sketches (again, it may have had a tiny bit to do with my hesitance to cut into the fabric). The tutorial had measurements for a Mac, but I based mine off of my own computer and knowing that I only had the 15" strip of focus fabric. (I used this tutorial when calculating my ultimate measurements.) I will say that if you use the tutorial's measurements, you will have a little more room on the sides. My computer fits snugly, but not too snugly.
My measurements for the three-panel outer fabrics: 2@8.75"x16" (front and back) and 1@6.5"x16" (bottom). The lining was a bit odd because I originally made it 16"x24.5" (to leave a little lip for a contrast at the top of the bag). But I decided to do the "birthing method" (I heard it called that somewhere; turning it right side out through the bottom of the lining) for this bag instead of the method called for in the tutorial and I needed to have a seam through which to pull the rest of the bag. So, after I had already interfaced the heck out of it, I ended up cutting the lining panel in half and sewing it up as normal.
I toyed around with the notion of an elastic pocket or accordion type pocket so I could also have my power source attached to the bag. But I couldn't quite make it work with the design I landed on. Actually, the design for the main bag is pretty much the tutorial's design but it went through several iterations (horizontal patterns, all viewfinder, etc.) before I went back to it.
I also knew I wanted to add a zippered pocket. I made a bit of a mistake when sewing the first pocket panel on - I sewed too closely to the top and had a tiny, tiny seam allowance left for the other part of the pocket. But it was just enough to make it serviceable.
I also added a flap with a magnetic strap for a little more security.
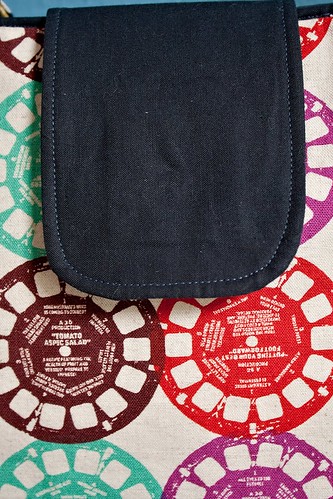
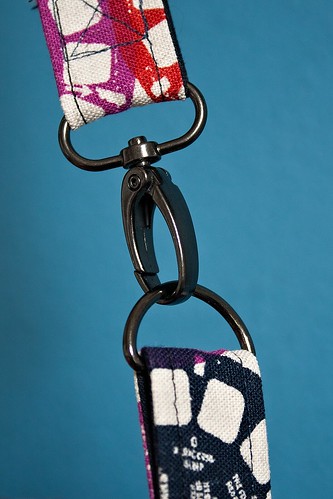
Hardware: I liked the hardware suggested by the tutorial, ergo D-rings and clips. I like how a little hardware really gives bags a nice finished look.
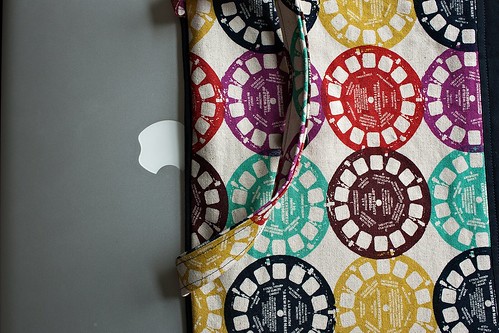
Handles/Strap: I made my straps and handles a little differently than called for the tutorial, which called for the tube method. For the stap I took a 1.5" x WOF piece of patterned fabric and solid fabric, sewed them together along the long side, added scant 1" lightweight woven interfacing to both sides of the seam, folded in the cut sides 1/4" and sandwiched them, topstitching along both sides. I was able to use that whole strip for both the strap and the D-Ring loops. For the handles, I used 2 strips@2.5", folded them in half lengthwise. In the middle, I reinforced the handle with a scant 1"x5" piece of heavy weight fusible stabilizer. Then, I layered the lightweight interfacing on top of that and on the other side, folded in the sides 1/4" and topstitched. The handles can be folded inside the bag, too!
Interfacing: My computer isn't going to be totally safe if it falls to the ground, but I did put some cushioning in there. I used Pellon Fusible Thermolam Plus for the first time. It is similar to fusible fleece but it seems a little denser. I think I remember reading that some of Amy Butler's patterns use Thermolam. I cut it 1/4" smaller than the outer and lining panel. On top of the fleece, I added lightweight woven fusible to the edges of the fabric for the outer and lining pieces.
I'm so excited to have a bag for myself and I even have enough of the viewfinder fabric to make a small zippered pouch!

1 comment:
Love the viewfinder fabric!
Post a Comment