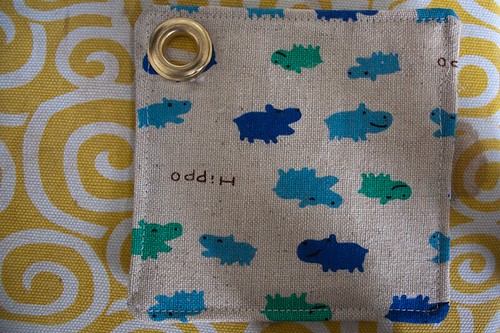
I made my 2 year old nephew a memory game and am including the steps below. Again, this is a Type B tutorial, so probably not up to snuff of more professional/monetized blogs (this is just a sewing journal, after all). But I thought I would get my steps down here, anyway. Typically, I didn't take a photo of the finished project (classic me) but you get the idea.
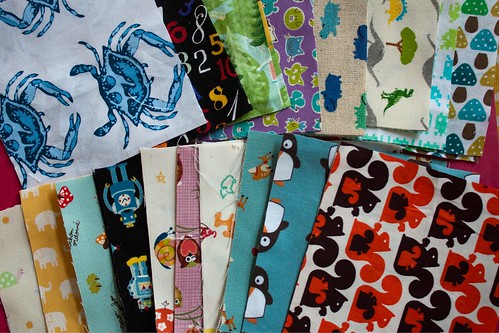
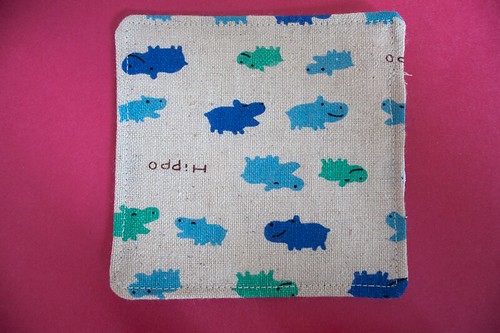
I was part of a Japanese import swap last year and I had all of these novelty type 5" squares. Some are cotton, some are linen/cotton mixes and I wasn't really sure what to do with them. Some of them were suitable for an I Spy quilt and some not. But I had two of each. So I pulled out the ones I thought would be best for a Memory game and I added to them with some of my stash. I trimmed them all to 4.5" because I thought 4" finished was just about the right size for little hands. I wanted to make them portable, so I added a grommet (super fun, gets out any aggression you might be feeling!) and would like to string them on a large binder ring (as soon as I find one!).
I made 36 (18 pairs), which is a lot, in retrospect. But it's also a good in case you lose one or two or someone eats one, etc.
Requirements:
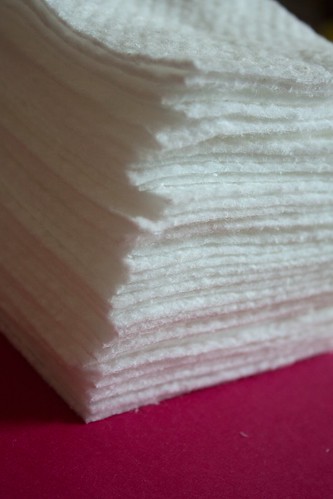
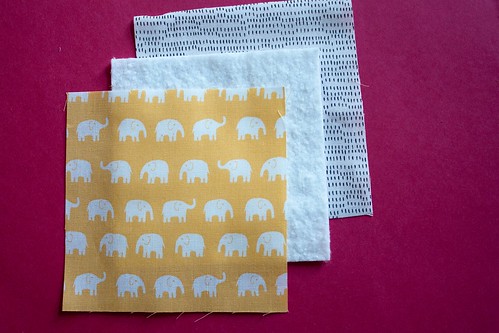
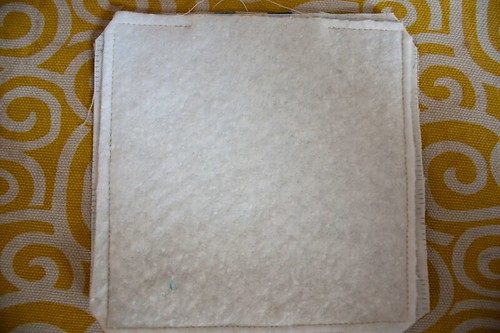
36 batting squares - I cut mine to 4.25" to cut down on bulk
(you could cut yours to 4.5" and trim as needed)
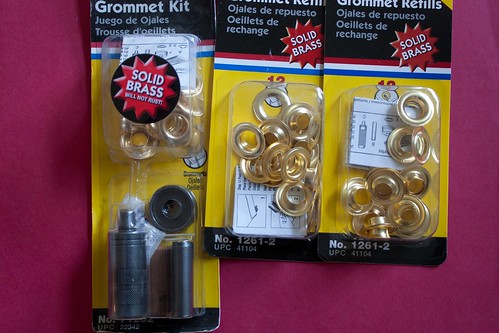
Grommets - one for each card. I got these at Home Depot, but I believe there are craft versions, too.
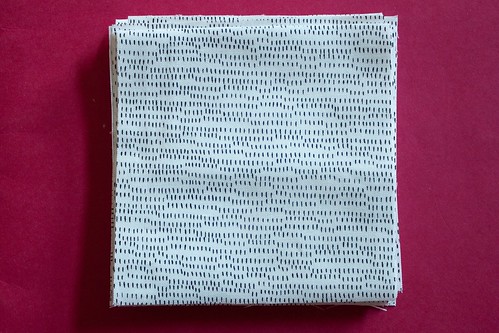
For each card, you need one square for the front of the card, one square for the back of the card, and one square of batting.
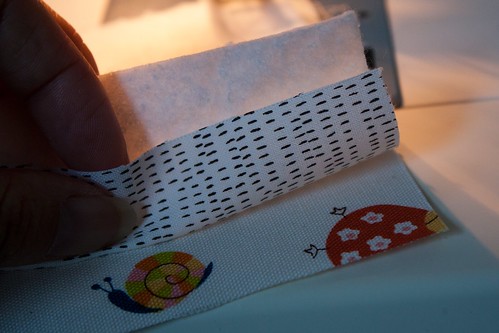
Layer the squares front square right side together with the back square, laying the batting on the wrong side of the back square.
Starting in the middle of one of the sides, backstitch a couple stitches and sew around the edges 1/4" stopping 2" from where you started. Backstitch. (If you use the smaller batting squares, try to catch the batting in the 1/4" seam.)
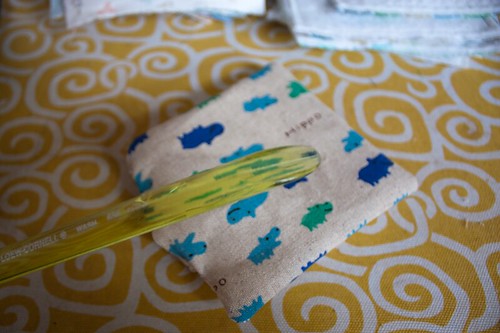
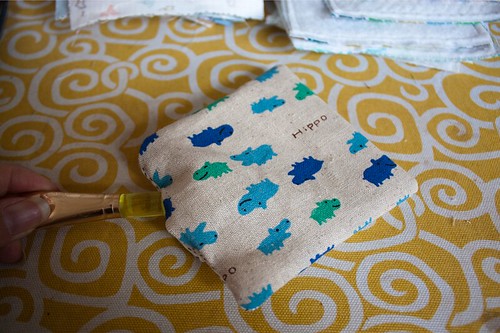
Try to avoid doing this:
Remember - right sides together. Right side to wrong side plus batting = seam ripping!
Try to avoid doing this:
Remember - right sides together. Right side to wrong side plus batting = seam ripping!
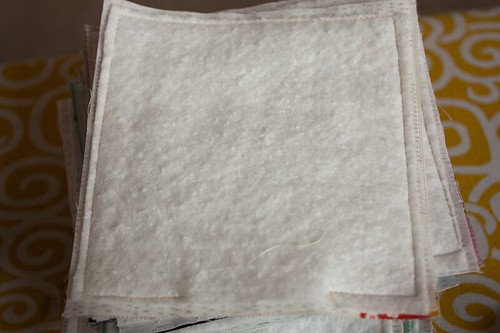
Clip the corners of the blocks/cards you've sewn properly.
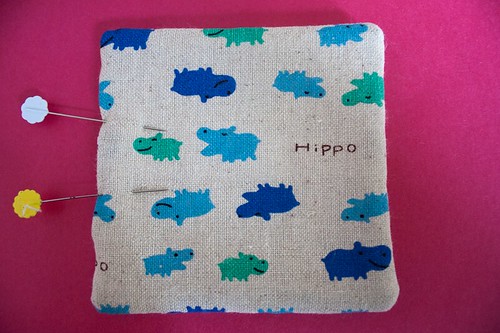
Using the gap left in the seam, turn the fabric right side out so that the batting is now on the inside.
Press if desired. Topstitch around the card.
Repeat for all cards.
Enjoy!
(optional) Adding the grommets - there is a grommet tool at Joann's but I can't vouch for it. I got my grommets and tool at Home Depot. The grommets came in packages of 12, so that worked out great for me!
There are a lot of tutorials on inserting grommets, so I won't belabor the point here. I will say that you need to cut a hole in the corner of your "cards" - you can't use the little cutter-outer tool they provide; the card will be too thick. But the cutter tool will help to mark the card.
Once you have your first grommet in, however, you'll feel really proud of yourself, so I say - go for the grommets. You'll like it!
Playing the game
For a two year old, you might start with all of the "cards" face up and just pick out the matching pairs. Then you can turn them over and play "for real." You can also use them to play I Spy ("I spy with my little eye some robots"), either laid out on the floor or even on the ring. The ring will easily attach to a bag or purse, so it's portable!
There are other versions of the game here, here, and here.
There are other versions of the game here, here, and here.


No comments:
Post a Comment