Thursday, October 27, 2011
Hash Marks Featured!
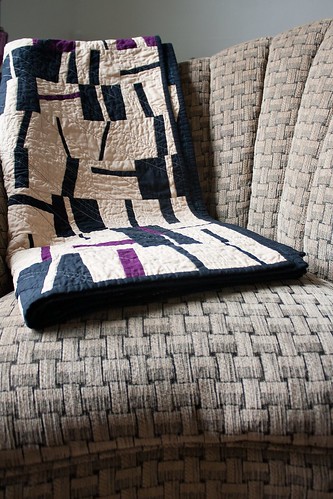
My Project Modern Challenge 4 entry is the KCMQG Inspiration of the Week.
Thanks so much to the Kansas City Modern Quilt Guild! Your members are an inspiration to us all!
Tuesday, October 25, 2011
Charity Stockings and a Fabric Glut
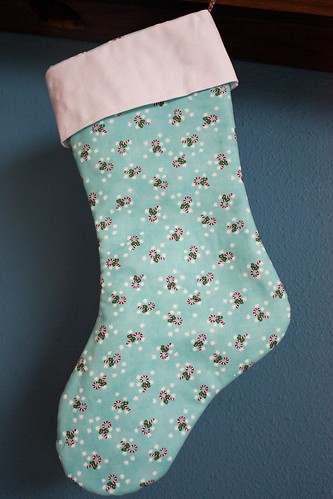
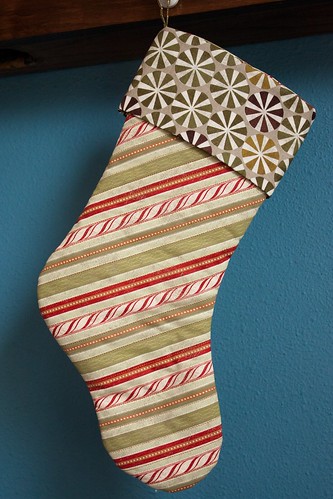
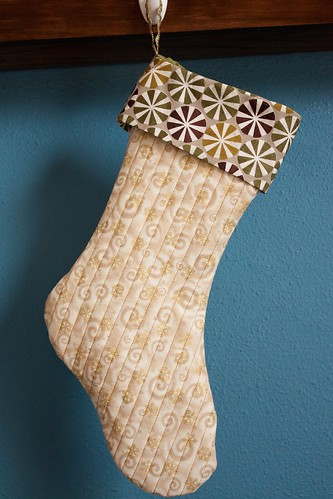
Here are my stockings for the Purple Panda Quilt's stocking drive! They are intended for kids of all ages. I made one with fusible fleece, so I didn't quilt it. The stripy one is lined with batting, so I quilted it in gold and red thread along the diagonal stripes. The third stocking I used some pre-quilted fabric that my mother-in-law gave me for the interior, so I quilted straight lines in gold thread to connect it to the exterior fabric. It's for the boy or girl who likes a little sparkle in their stocking! They are each lined, so there are no exposed seams.
I will try to get those out in the mail at the end of this week. Lyanna works with foster kids and they usually get brown paper bag stockings, but this year she is collecting handmade cloth ones. She is accepting stockings up until December 1st, so if you have time to stitch one up, I'm sure she would appreciate it!
And now for some blatant consumerism, brought to you by me, of course, and in part, by Hancock's of Paducah.
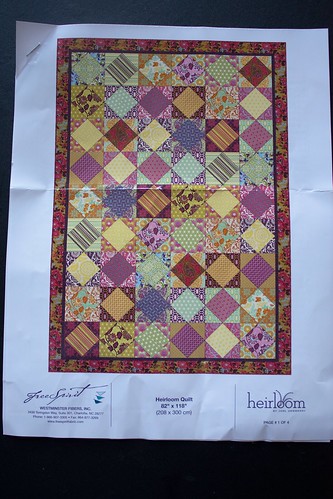
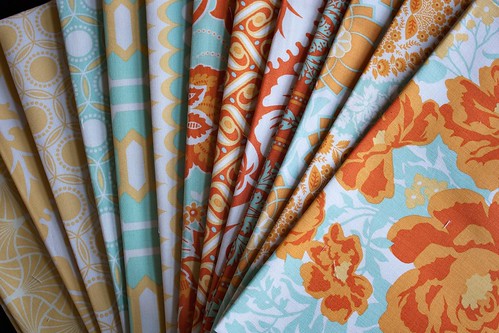
I bought this quilt kit last week. I don't actually plan to make the included quilt pattern, I just wanted to get ahold of the fabric which includes all the prints from...
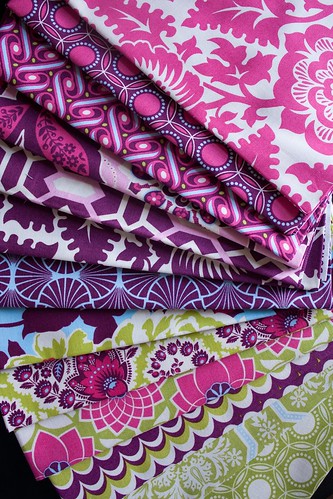
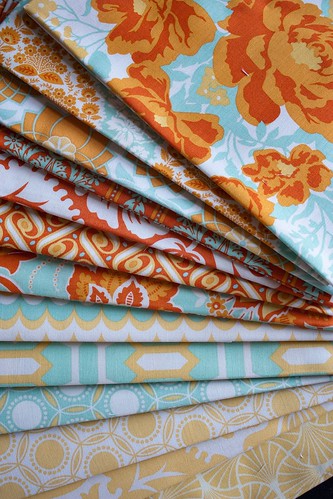
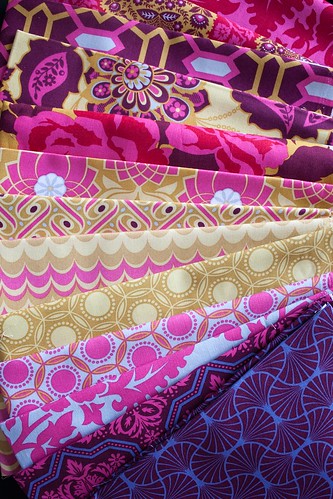
Joel Dewberry's Heirloom! The colors are awesome. (Photos: Sapphire, Citrine, and Ruby colorways.)
I especially love the Citrine colorway. Gorgeous colors. I'm a total orange convert!
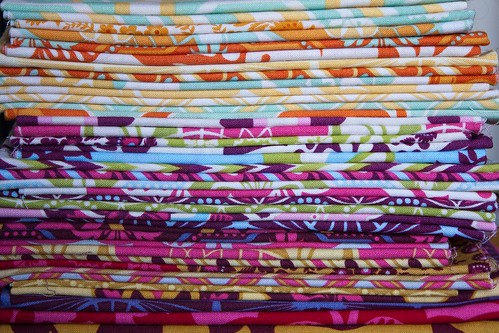
The kit consists of the following straight cuts (selvedge to selvedge):18 cuts of 3/8 yard (13.5") each, 18 cuts of 1/3 yard (12") each, 1 cut at 5/8 yards, 1 cut at 7/8 yards, and 1 cut at 1.5 yards. These are the three prints of the larger cuts:
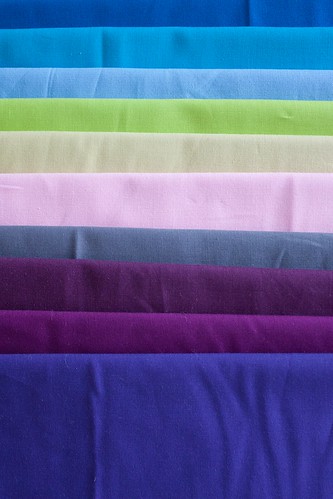
And what did I tell myself in justification - 'but, it was on sale...' Today, I also received the fabric from fabric.com to make my friends' diaper bag. Oh, and last week I received these beautiful Konas that I swapped for a jelly roll that had been languishing in my stash. I am loving the swapping! Swapping good - buying, bad.
Tuesday, October 18, 2011
Swappin' and Sewing Slow-Down
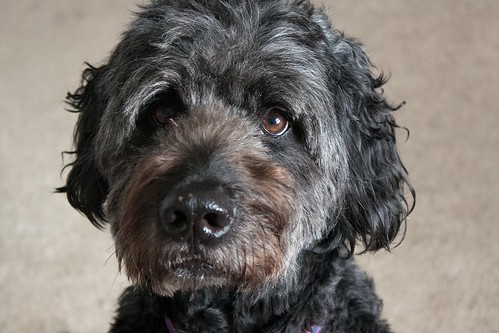
I'm a crazy dog person and it's my dog's birthday today, so here he is in all his five-year old glory.
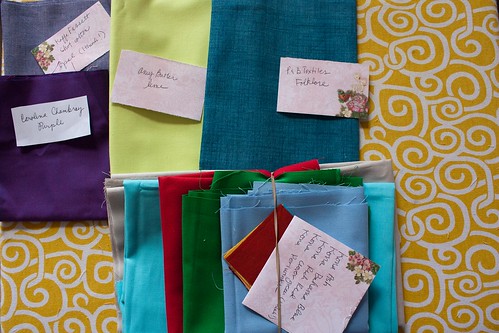
In actual crafting news, I've become a swapper! I have my first successful swap under my belt! I am a member of several fabric de-stasher groups on Flickr (Craft Room De-stash, Fabric Destashers, and Fabric Addicts Anonymous) and I've been lurking for some time. I looked at my stash and took the plunge! I plan to do a lot of de-stashing once I get back to New Mexico because I'm sure my tastes have changed quite a bit. It's a great way to get fabric out to people who are really going to love it and replenish your stash for only the cost of postage!
So far, I have very few items in my ISO ("in search of" - for the other newbies :)) list - mainly some old Tula Pink and any solids. I felt that solids were an easy thing to ask for. I haven't really gotten into the hunt for old Heather Ross or Flea Market Fancy. It's just a slippery slope I don't want to slide down! Jenny [aka Krousegirl2 on Flickr] put together the packet above and included a baggie of scraps as well! (And a little pumpkin magnet that I put right on the fridge!) I can't wait to try out the chambray and the shot cotton. That Amy Butler Lime is pretty awesome too!
I have a couple more swaps that are pending - I think we're in the negotiating phase :)
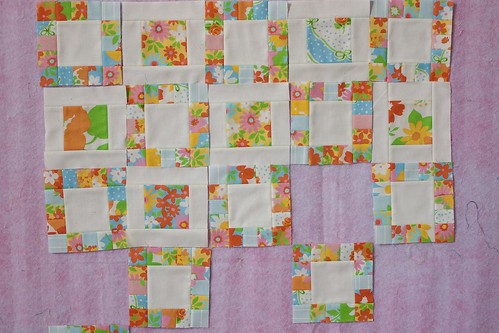
I have several things in the works at the moment. Firstly, I'm still getting TwitterB blocks in and I am loving them! This quilt's gonna be cool. I cut into my Dream On fats - I'm going with something a little more traditional and vintage-y. (These are 5.5" blocks.)
I'm also working on a December Surprise, so that will be a lot of work with very little blog progress to show. And I am going to make a couple stockings for the Stockings for Kids collection that Purple Panda Quilts is hosting.
On top of that, I am taking on some seasonal retail work. So that means a mega-sewing-slow-down, resulting in what I can only assume will be a blogging-slow-down as the holidays ramp up. But I'll still be checking in and journaling progress when I have some to report!
Thursday, October 13, 2011
TwitterB-October
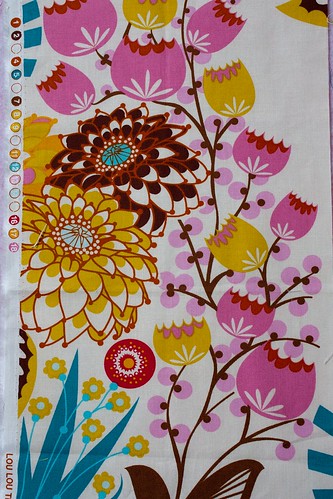
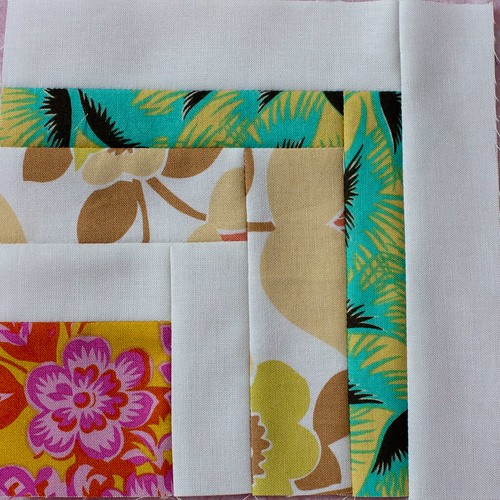
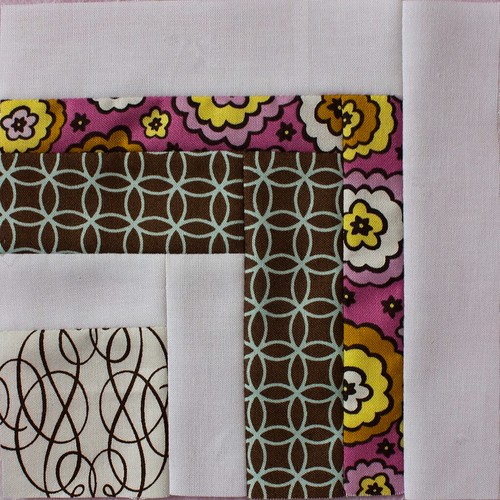
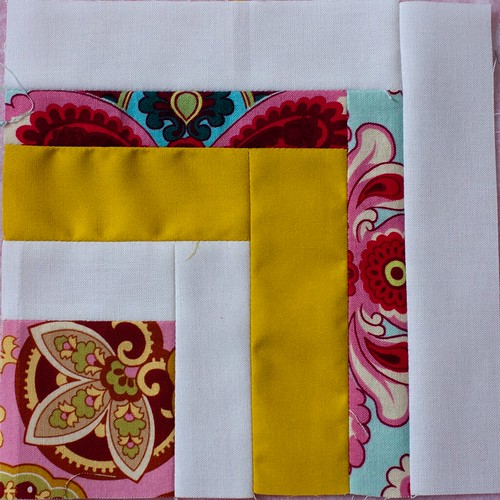
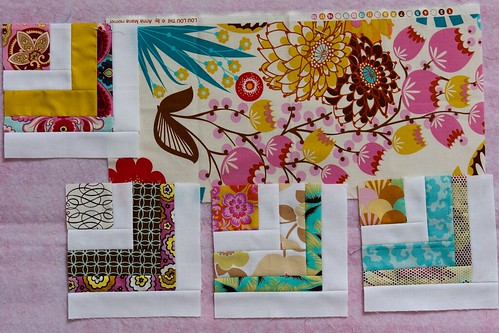
Belinda designed a modified Bento Box block for her month. This is her overall design:
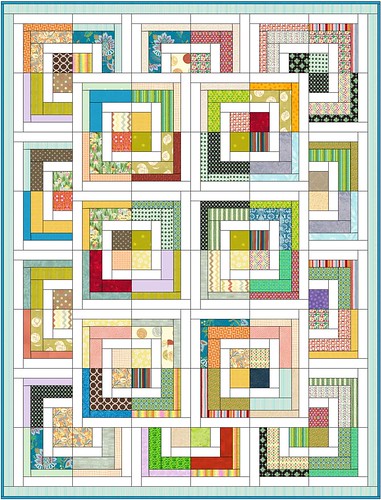
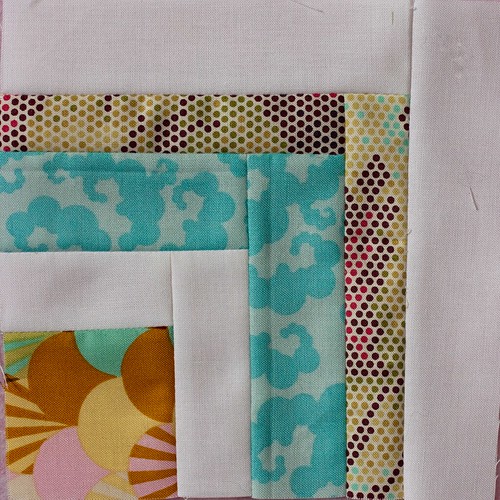
She sent the Kona White and the Anna Maria Horner print above (Summer Totem in Tart) as inspiration for color choices. On first pass, I didn't really have too many fabrics that I thought would work out. I combed through some scraps from my mom and I was able to come up with 12 unique fabrics to come up with:
I had a lot of fun pouring over my choices and putting together the sets of three. Not all the colors are spot on, but I think they definitely fall into the "inspired by" category. Can't wait to see how Belinda's quilt plays out!
Monday, October 10, 2011
Birthday Surprise-Check!
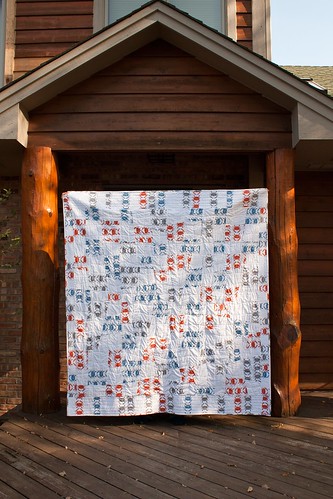
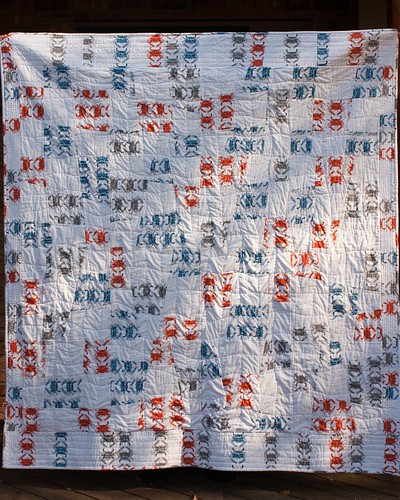
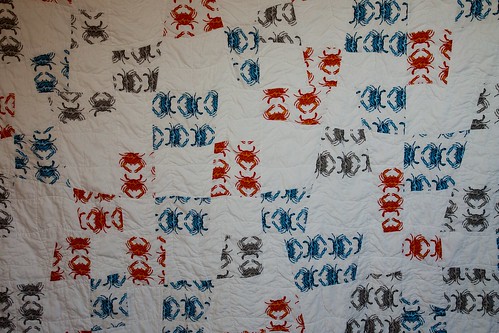
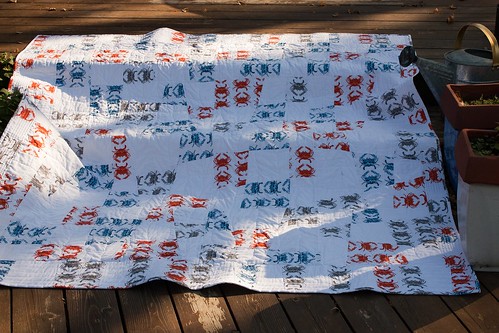
Today is my parents' birthday! That's right. My folks have the same birthday, but they are a year apart. I made them this quilt and I call it "Crabby Patty." Going Coastal is such a great line and as soon as I saw it, I knew I would be making something out of the Crab Walk prints. I mentioned in this post that my family has been visiting the Eastern Shore for over 20 years. Eating blue crabs is a big part of that experience. In fact, my parents are there right now, celebrating their birthday and our friend's birthday.
I paired the crabbies with Kona White and made your basic stack and slash/wonky 9-patch (I don't know what it's really called but those are two names I've heard before). I love it - it's super versatile and easy and fun and fast. (Much like the traditional 9-patch.) You cannot go wrong. I did this Central Park version back in January:
Same method - totally different feel. Try it, you'll like it!
For the Crabby Patty, I made the finished blocks ginormous because I wanted to make sure the crabs were whole and visible. I think they finish at... 16.5"-ish. I was trying to make it a rectangle, rather than a square - no real reason. So I did a longer wonky piano key type border at the top and a shorter one at the sides. I had a math mess up (wait - have you heard me say that before? Is this deja vu all over again?!) and the quilt, which was to finish at 65"x80" finished at 65"x70". This is a function of - a) doing basic arithmetic on paper late at night and b) me being the person attempting to do that math. C'est la vie. Moving on.
I like how the white gives it a negative space element and ties it in with a more traditional 9-patch. I didn't do a lot of messing around with placement, except to make sure the crabs were walking in different directions. The print itself has them walking in two directions, so I just flipped a couple 90 degrees in my stack before cutting them up.
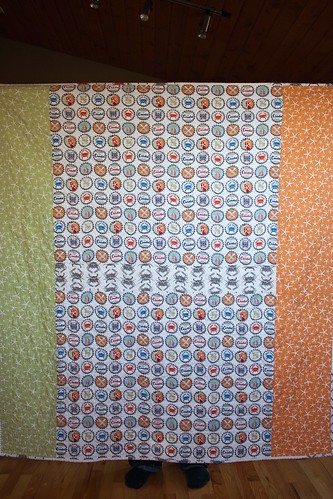
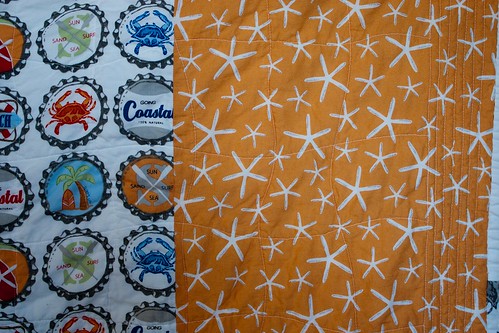
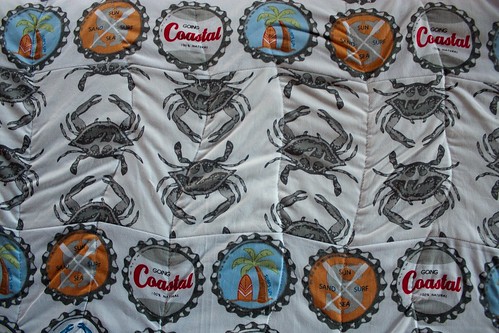
Here's the back - I love the bottle cap print!
I did wavy grid quilting for the first time in the center and I really liked it. It's about a 3-4" grid here, but I can see it being really versatile and it's pretty quick.
I just did straight line quilting around the border. I let the right angle get away from me a little bit, but it's no biggie. It makes a nice frame around the center panel.
I spray basted but didn't get it quite as flat as I should have, so there was a little puckering and the center panel on the back shifted a bit. After it was washed and all wrinkly and comfy, it didn't make a huge difference.
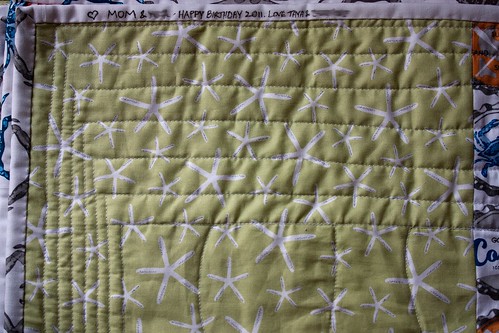
I don't label most of my quilts, but I decided to do something for this one. I just wrote on the binding in one of the corners on the back. I pieced the binding from the leftovers of the front.
Happy birthday, parentals! Hope you like it!
Saturday, October 8, 2011
Shower Surprise-Check!
A good friend is getting married soon and I am attending her shower this weekend. She had asked me early in the year (or was it last year...?) to make her and her intended (he hates the word fiance) stockings. I had it on the to-do list and when I received the shower invite, I knew the time had come.
I did a lot of internet searching and trolling for ideas and inspiration. The pattern that I used the most was probably this one from the FabricWorm shop's blog. The Purl Bee has some great ones as well.
I really love these ones that Cynthia at Meringue Designs made for her family:
I definitely did not have enough fabric in red or green in the same tint family to do patchwork-style (and no embroidery machine for the names...) And my friend hates red. I toyed with blue and white (which is the color of my stocking!), but I picked up a 1/2 yard Christmas bundle when I was at the WI Quilt Expo from the Janie Lou Quilts booth (one of the decidedly modern quilt booths there). So I went with it!
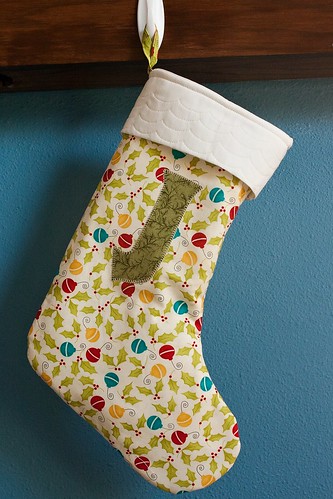
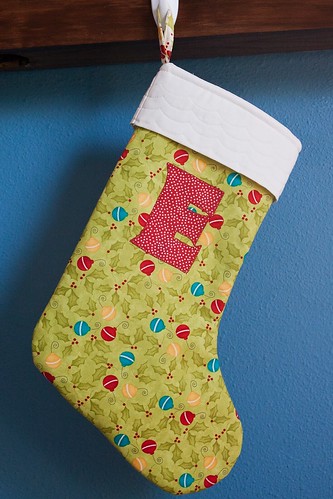
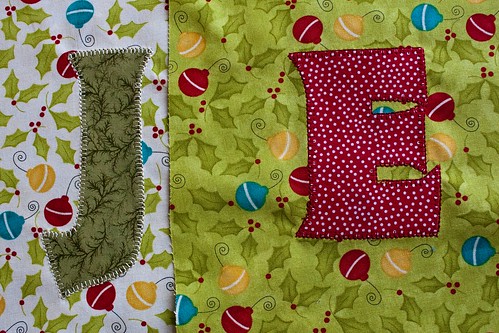
Instead of using batting, I used fusible fleece on the outer stocking and I didn't do anything to the lining (appropriately, I used Kona Snow). I appliquéd both of their first initials and finished it with a blanket stitch. I was super nervous because I haven't mastered using the blanket stitch but I am really pleased with how they turned out.
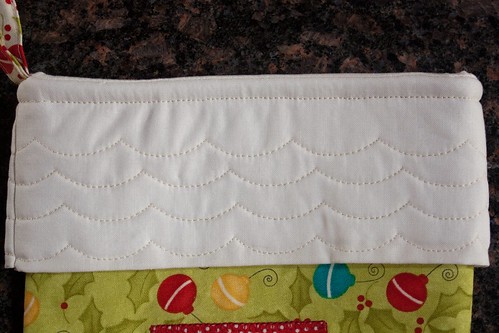
I think the letters should be a little lower, but it's not too distracting. I used a decorative stitch around the cuff that looks like a wave or, in this case, the snow on a gingerbread house.
I had a leeeeetle trouble with the little hanging loop. I hung them to photograph them and the J one kept kind of listing to the right, whereas the E one hung very straight. So, I put a little stitch in the J one. But I wonder if it will correct itself it is full of candy or camping supplies :)
This is a pretty fun and easy gift idea for anyone in need of a new stocking!
Wednesday, October 5, 2011
Project Modern Challenge 4
Because I've been moving around so much, I haven't had the chance to join a local branch of the Modern Quilt Guild, but once we are settled, I hope to find a group of like-minded/open minded quilters to meet up with. I'm mega super inspired by members of those guilds and I love seeing the results of challenges and swaps that they do.
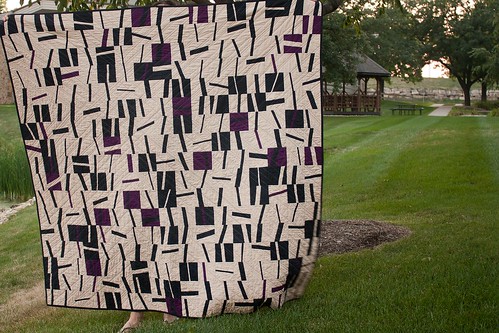
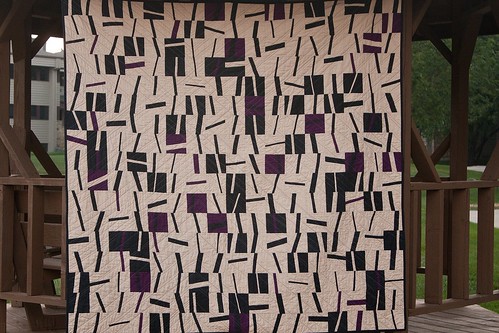
Anyhoo, I'm starting to see more entries popping up over at Flickr and around the blogosphere, so without further ado, my entry for Project Modern: Challenge 4 - Find Your Voice: Hash Marks.
It's an idea that has been percolating for some time. This is my [probably-over-long] description.
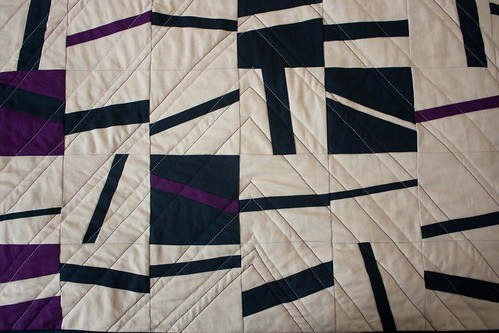
I took this challenge to be about starting with a blank slate and creating something about my life in this moment. This quilt is called “Hash Marks.” (They are also called “tally marks”: four vertical lines crossed by a fifth diagonal line signifying a count of 5.) Each of the 300+ blocks (including the back) is one mark and together they are a representation of me counting the days while my husband finishes graduate school. From a quilting perspective, I am currently experimenting more with solids and different methods of piecing. I initially planned to use two colors: Kona Khaki for the background and Kona Pepper for the marks. But I happened to have a little Kona Eggplant and I liked how it gave the palette a little pluck, so I threw it in and the layout evolved from there. (Adding that third color allows also me to say that the colors represent the three states we have lived in these past two years!) I wanted to develop a shortcut (which is very much my “quilting voice”) rather than piece each block individually. So, I sewed strips together and used a 4.5” square ruler set at different angles to cut out the blocks and vary the marks.
Because of our transient lifestyle, the logistical aspects of my quilting have also taken on an improvisational bent. Quilting comically started with me trying to spray baste with the backing taped (with packing tape) to a textured wall. It was touch-and-go but it actually worked! At 68”x 68”, this is the largest quilt I’ve tried to quilt. In order for my hands to be in a good position, I had to perch atop 4 folded quilts with my foot pedal raised on a plastic bin and the bulk of my quilt over my shoulder. (My table is too high and my legs, too short!) The basic design is an off-set, asymmetrical X (because it marks the spot) of straight-line quilting at various widths in cream, purple and dark blue thread. I filled in the rest of the quilt with similar quilting. Though my stitches are far from perfect (and my walking foot broke in the effort), I am really happy with result. This quilt is all about working with what you have and adjusting to the ebb and flow of circumstance.
That about says it all. I can't believe that I quilted a quilt that size on my machine! She didn't like it and I probably won't do it again, but I love having a finished project. (Currently quilting on a Juki - it's like buttah!)
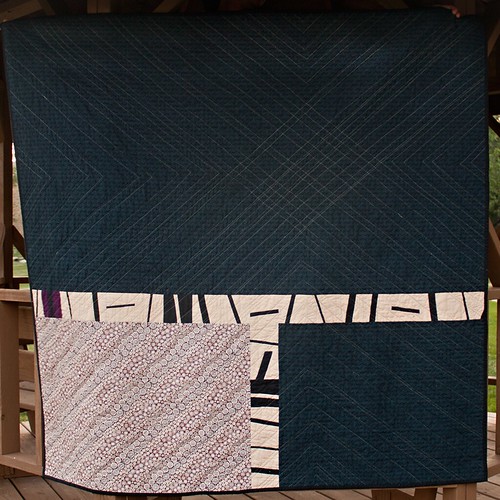
Here's the back:
You can really see my crazy quilting! I think there is definitely a lesson to be learned here, for me, in thread choice and backing choice. I don't mind a whole lot that the quilting is so visible on the back, but since I'm definitely a beginner in that area and need a heckuvalot of practice, it may not have been the ideal decision. Live and learn!
The wavy navy is a print that I've had for 3 years or so. It's a tone on tone zig zag that went great with the angles in the quilt design. The rectangle patch is a piece from the Free Spirit line, Moondance. I was going to use the leftovers for the binding, but decided to keep the top/front to the three original solids.
Here's a close up of the quilting - you can almost see the different thread colors.
Thanks for the MQG for hosting this and all of the other challenges. I loved having more motivation to take this idea from paper to fabric and I can't wait to see the other entries!
Subscribe to:
Comments (Atom)


