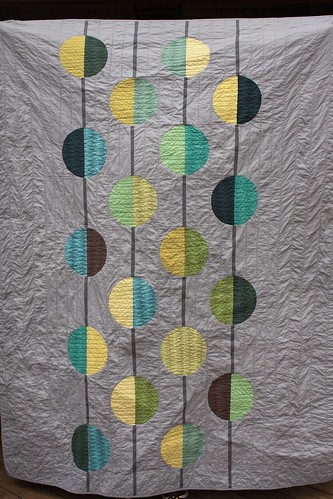
This past weekend my husband and I attended our friends' wedding reception and we delivered their wedding quilt. And now I am sharing it with you! [This is a looooong process post.]
This quilt is obviously a version of Ringle and Kerr's
Love Beads, from
the Modern Quilt Workshop book. I borrowed it from the library, so I do not have a good photo of what the quilt originally looked like, but
you can follow this link, where another quilter has helpfully taken a photo of the original. I have loved this pattern from the moment I saw it, but knew that I did not have the skill to attempt it (the book is from 2005). But with a number of years of quilting under my belt and an upcoming wedding, I knew the
Love Beads would fit the bill.
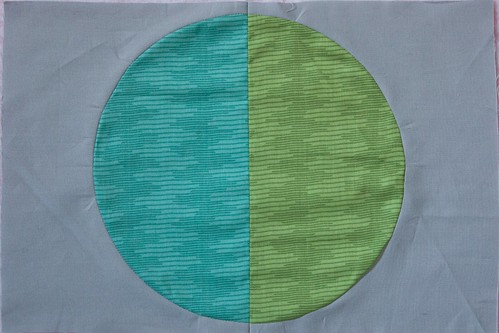
This was my first real attempt at curved piecing (I did two Single Girl sample blocks). So, I did what every pattern suggests you do and what I never do, which is make a test block. Good thing, since I messed it up :) Here's the evidence:
I was so pleased with my circle until I realized that my rectangle was too short. There are two templates: one for the half circle and one for the rectangle into which the half circle is set. But the rectangle template is
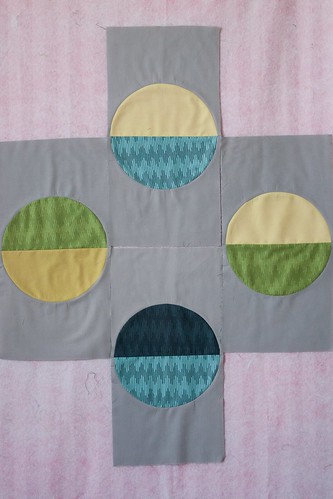
only for cutting out the negative half-circle space. It is not the actual size of the finished half-circle rectangle block (does that make sense?). So, if you cut out the half circle and then cut the block to the 90 degree edge of the template, you've made your block incorrectly. Done and done. Yea for sample blocks. Lesson learned. Properly made blocks below:
Also, I watched the youtube video on piecing curves without pins, but I couldn't get it to work out right and I went with the pin-like-crazy method. Even then, things didn't go quite as smoothly as I'd hoped. There were I few that I had to unpick because my seam allowance was a smidge too small, meaning that my rectangle blocks bulged out where the half-circle was inset. But I got a lot of practice and I think I'll be a little more confident the next time I try it.
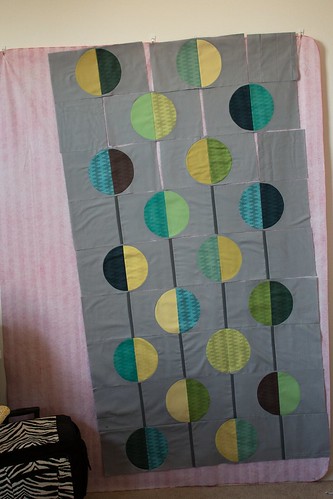
I fully intended to follow the pattern and have the beads strung horizontally. But as I was arranging the circles on my design wall, I had to turn them 90 degrees so that they would fit (the width of the quilt being wider then my design wall). [Don't adjust your screen, they are on my design wall horribly crookedly!]
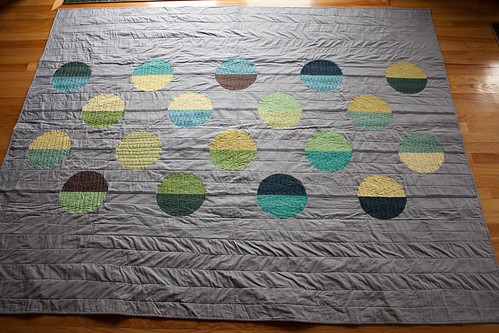
As I was looking at the blocks with the strings hanging vertically, I decided that I really preferred it (in keeping with Ringle and Kerr's 60's theme, the vertical strings also look like those beaded door thingies!). So, once again, I changed things up a bit. Since it was a wedding quilt, I decided to call my version, "My Better Half" and make one of the circles out of the same fabrics to represent the newlyweds.
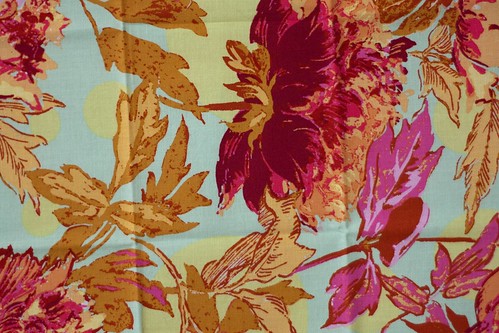
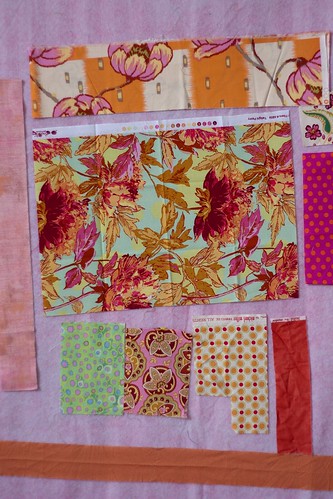
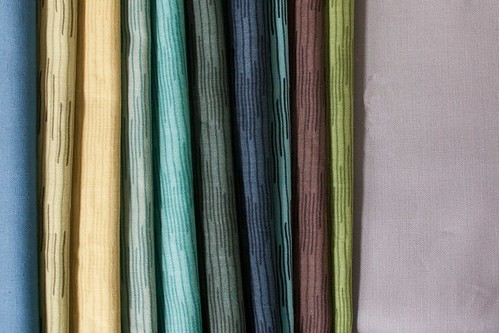
Speaking of fabrics, the background is Kona Medium Grey (a classic) and the print half circles are the Line Blenders from the Brooklyn Heights line from Benartex. I also used some Konas as well (artichoke, possibly celery, and a yellow, I ended up not using the blue from the photo below and using Coal for the "string" instead - Color Consultant/husband contribution).
I did ask my friend to look at
Design Seeds, so I could get an idea of whether or not the palette I had chosen was way off the mark. Here are a few she chose (click on the photo to go to the Design Seeds post):
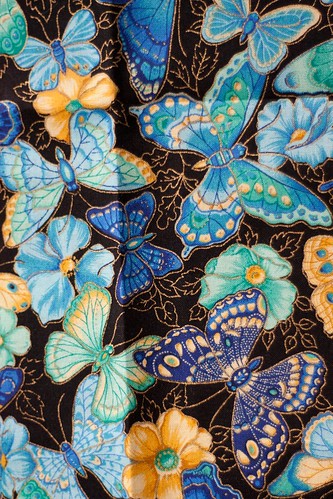
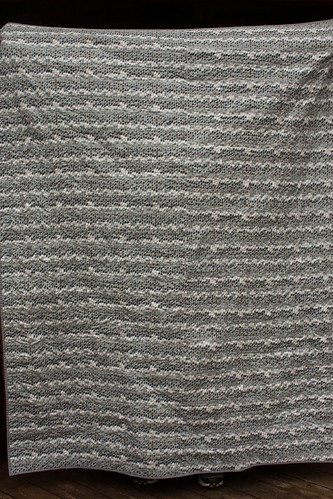
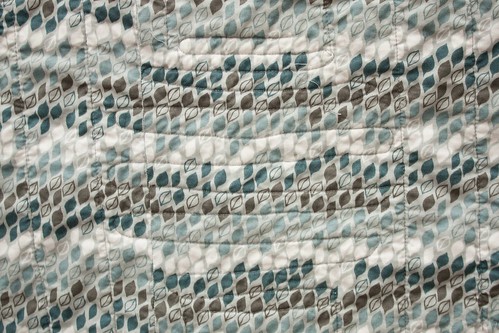
Their house is full of warm toned neutrals and the quilt definitely came out on the cool side, but I think the palette reflects some of the colors she was drawn to. And it's a palette that works for men and women. The backing is a Studio E fabric with little leaves in white, grey, blue, and brown that I thought worked well with the front.
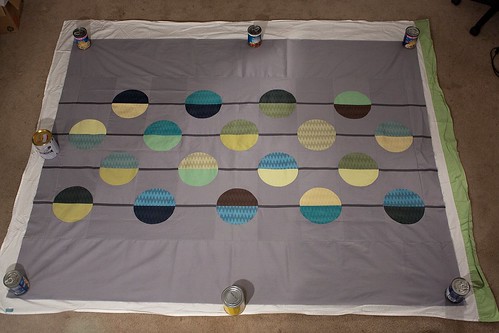
Basting and quilting. I basted on my carpet floor after vacuuming like crazy (my dog is a shedding machine!). I laid down an old sheet and then used cans and eventually a few hand-weights to keep the layers taut. My
October Birthday Surprise was not quite smooth enough, so I really wanted this one to be better.
I spray basted using June Tailor because that's what I can get at Joann's. You can see in the photos how nice and flat the center portion is and how much wavier the sides are. I think the adhesive didn't hold quite as well as I'd have liked. But I think most of the waviness is due to the fact that the lines are continuous, whereas the lines in the center are interrupted by the "beads," so the lines are shorter and didn't pull as much on the fabric.
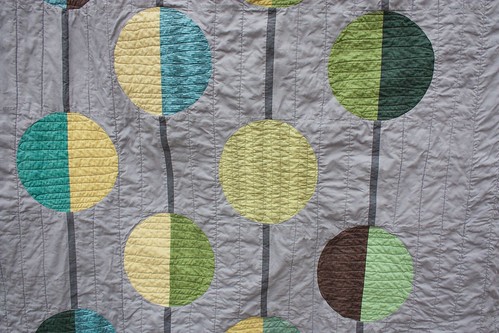
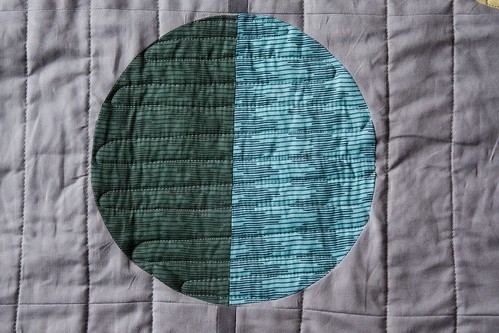
I did some OK free motion quilting in the circles, using a basic wavy line. The stitch length varies, but overall I was really happy with the effect. [Front and back]
The original pattern calls for you to cut off half of the blocks on either edge of the quilt to make the design look like it continues "off the page" so to speak. After piecing all of those half circles, there was no way I was cutting four of them in half :) So, I just extended the string pieces and made the binding out of the background fabric to give it a little of what Ringle and Kerr were talking about. I decided to go with 2.25" strips for the binding to make it a little thinner than I normally do. I think this quilt could fit a twin sized bed, but I really just made it so two people could sit on the couch and snuggle under it :)
I really like this pattern and I could see it also being done with full circles using
Dale Flemings six minute circles (which I have heard take more than six minutes), if you wanted the circles to be of the same fabrics. Or even doing some raw edge applique would give a similar effect. Yet again, a pattern I'd love to revisit, but there are so many quilts to make out there and so little time... I'm not sure if I ever will :)
Bride and groom received the quilt happily and I hope they enjoy it!


